Monday, December 31, 2012

The Tastiest Gift Of All

My oldest daughter turned a whopping *9* years old right before Christmas.

I honestly can't figure out where the time goes.

When i asked her what kind of birthday cake she wanted this year, she said "I want my cake to be a present, with a bow made out of fondant."

I told her i had never done a bow before. She said "I know! I am challenging you!"

Oh, boy. No more Cake Boss for her! See what i got myself into? A kid who wants to challenge mom's skills! Let's face it, each cake is a new experience anyhow, but she really went for one of those techniques that make me freak out on the inside.

I went onto YouTube and started watching some videos on making fondant bows. These ladies make it look so easy.

Turns out, they're not easy at all!

It might help if i had a ribbon cutter. But i don't. I thought it looked like something i could do freehand with my knife and a ruler. Then i came up with the idea to use the guides on my large fondant roller to help me out. I probably would have been better off with a stick ruler. Lesson learned.

I was kind of rushed, so i didn't do any pictures of the process. I had 5 kids under the age of 9 in my house all weekend, the youngest being not even 2, so i skipped all that.

I was semi-pleased with my result. I am a big perfectionist, and the bow was driving me insane. I should have stayed up extra late cutting ribbon pieces to dry overnight instead of assuming a couple of hours dry time would be enough.

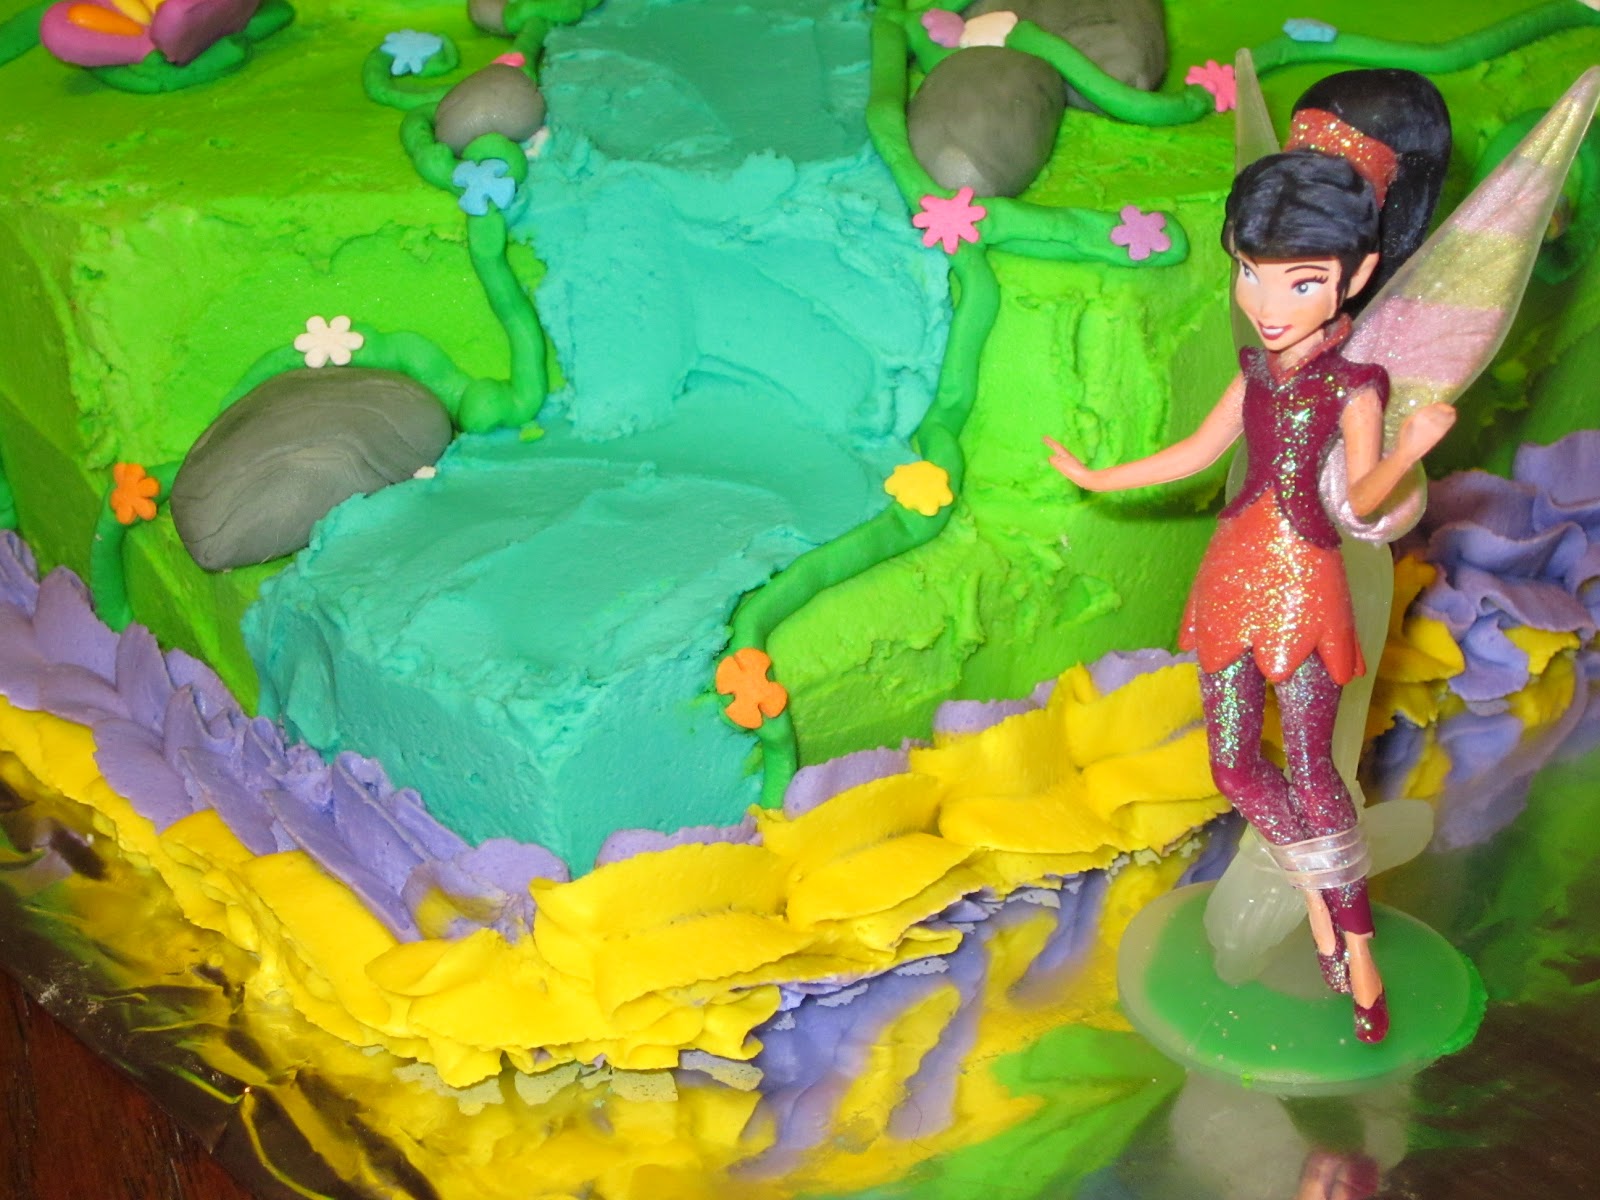
It's difficult to see in the photos but i used lustre dust (in gold) all over the cake with a dry brush. I didn't brush the bow loops because they were already wanting to sink and i didn't want to encourage them. The whole cake glittered and it was a really lovely effect, and much nicer than plain matte teal.

I definitely think i could improve a lot of things on my next attempt at bows, but that's what i am all about. You have to try it in order to learn.

I have some new tools to add to my wish list, and a new cake under my belt, and my daughter was happy, and my kids being happy on their birthdays makes every cake i make for them a success!

Ta-Da!


I was still cranky about the bow but i did the best i could, and for my first attempt, i think it was decent enough.

I also hope it's awhile before i need to do another one. I need to practice.

Monday, December 17, 2012

Mexican Hot Chocolate Cookies

My Mother-in-law wanted to move up Christmas this year.

Yes, the whole end-of-the-world thing.

Being the good DIL i am, and for a dreamer, rather grounded in reality, i had to poke a little fun at her. It's my job, right? Keep everyone real. Because, honestly, i prefer my flights of fancy as solo trips, or at least i want to bring a good friend with a good sense of humour along.

Originally, i had a whole menu of desserts and appetizers planned. But as the family dinner approached, i lost steam. Part of it might have been guilt. Because i love my MIL and would never hurt her feelings on purpose. To be fair, i ran the idea past her first. I asked her how she felt about it, and she didn't seem to care, but she wondered if anyone would have the appetite for all that after a big Christmas dinner. I also figured this into my plans and i decided that it was a bit overkill, but i had to do something, because it's not every day your family holiday gatherings get moved around for possible cosmic calamity.

Martha always has some good ideas. My Google-fu skills take me to her page quite often. She intrigues me and makes me try new things. She's like my crack dealer, but my crack comes in the form of recipes and food and decor tricks.

Mexican Hot Chocolate Cookies (From Martha Stewart)


  • 2 1/4 cups all-purpose flour
  • 1/2 cup unsweetened cocoa powder
  • 2 teaspoons cream of tartar
  • 1 teaspoon baking soda
  • 1/2 teaspoon coarse salt
  • 1 cup (2 sticks) unsalted butter, room temperature
  • 1 3/4 cups sugar
  • 2 large eggs
  • 2 teaspoons cinnamon
  • 1/2 teaspoon chile powder (optional)

  • Preheat oven to 400 degrees, with racks in upper and lower thirds. In a medium bowl, sift together flour, cocoa powder, cream of tartar, baking soda, and salt. In a large bowl, using an electric mixer, beat butter and 1 1/2 cups sugar on medium speed until light and fluffy, about 2 minutes. Scrape down side of bowl. Add eggs and beat to combine. With mixer on low, gradually add flour mixture and beat until combined.
  • In a small bowl, combine remaining 1/4 cup sugar, cinnamon, and chile powder (if using). Using heaping tablespoons, form balls of dough and roll in cinnamon-sugar mixture. Place, about 3 inches apart, on two parchment-lined baking sheets. Bake until cookies are set in center and begin to crack, about 10 minutes, rotating sheets halfway through. Let cookies cool on sheets on wire racks 5 minutes, then transfer cookies to racks to cool completely. (Store in an airtight container, up to 1 week.)


(Note: I used ground Chipotle powder as the chile pepper for my cookies, because i was trying to be Mayan-authentic. You can probably use whatever chile powder floats your boat, but this has a nice heat to it without being an overpowering taste.)

Just roll your cookie dough around and get it coated.


They are very similar to Crackle cookies, and were firm. I let them cool on the tray for a couple minute and them removed them to a rack to cool the rest of the way.


Even though my MIL didn't think she'd like them, she asked me to leave her a bag of them when we left.

I also made a batch of Alton Brown's hot cocoa mix. I brought a canister with me so i could have a little hot cocoa bar. I kind of made i up as i went along with what i had in my kitchen. I brought marshmallows (of course), whipped cream (in a can), peppermint and vanilla extracts, Christmas nonpariel sprinkles, ground chipotle pepper, candy canes, and Hershey's chocolate syrup.

My cocoa pictures aren't the greatest, because for some reason i was trying to take pictures on my phone instead of my camera. But it was delicious, no matter how you chose to have it.


This one you can see that we were decadent and had marshmallows under the whipped cream, which was interesting. The girls had to have sprinkles, of course.


My husband went for the more exotic cocoa sprinkled with chipotle powder drizzled with chocolate syrup. Yum!

Me personally, i added a few drops of vanilla extract, added a few marshmallows and a dollop of whipped cream, plus sprinkles.

I have a cute idea for a Hot Cocoa bar for Christmas, when things are going to be quiet and we can spend all day in our jammies playing with presents. The kids will love it, and maybe we'll make the adult cocoa Irish.

Hopefully it helped take the weird out of having Christmas almost 2 weeks early at Grandma's house.

I hope to have more posts coming soon as i complete more of my Holiday treats list.

Wednesday, November 28, 2012

Zebra Striped Belly Cake

I had the wonderful opportunity to make a baby shower cake last week! As an added bonus, it was for family, which makes it all the more special.

I had a lot of 'firsts' involved in this cake. 

1. It was my first baby shower cake. 
2. It is the first cake i have successfully covered entirely in fondant. 
3. It's the first cake that i had an audience for basically from start to finish.
4. It's the first cake i ever traveled elsewhere to make.

All of those things made me a little nervous, but combined... well, let's just say i am glad i do well under pressure.

Before i ever left home, i wanted to make sure this cake would WORK. I had to do a test cake.

When i Googled baby belly cakes, i read on a site (i don't know where) that another baker used a Wilton Mini-Ball pan, and a Wilton Ball pan to make the breasts and belly, but when i got them both in the mail, i realized the Ball pan was too small (or at least it was in my opinion). Looking around my kitchen, the only acceptable alternative i had was using my round Betty Crocker Bake N' Fill pan, and try to bake a cake without using the insert. The hard part about this is you have to experiment with temperature and time. My original cake recipe (a yellow cake) called for a 350° oven and i had to lower it to 325° when i realized that the outside was going to get overdone if i wasn't careful. All total, here and away, i made the belly portion of this cake 4 times, twice per cake, to get my final product right.

The Mini-ball pan was a dream. The cakes puff up rounded, so the breasts of my cake looked bigger and rounder than if they had had flat bottoms. I was very pleased with the pan's performance (and no, i don't get paid to say that, i just like it when stuff works like it's supposed to - or even better). I did trim a little edge off of one but that was probably my fault for either slightly overfilling the pan, or the oven could be slightly unlevel.

Here's a few pictures of my progression on my test cake. I didn't do too many.

Dirty iced and ready to be covered in fondant.


It draped very nicely along the 'hemline'.


I trimmed off the excess fondant and smoothed it out over the whole cake.


Then i added the zebra stripes and ribbon.


Now, for the actual baby shower cake, the plan was to make the bodice hot pink. It really added a blast of color, and it matched the decorations and theme perfectly.


Monday, October 1, 2012

German Chocolate & Camo Cupcakes

Something terrible happened last week.

It was actually a day i have feared for a very long time.

My son, my oldest baby, my longtime joy... turned 18.

See, i told you!! It was horrible!

Okay, well it wasn't HORRIBLE. Not really. But i was sad. And i cried. Not like a river of tears, but there were a few. And maybe a sniffle. And chocolate.

Speaking of chocolate! (See how my brain switches gears?) When i asked him what he wanted, he was very specific. He wanted a German chocolate cake. It's his favorite! (Mine, too!) So i said i would do that for his actual birthday (which was on Thursday) and i would make him camo cupcakes for when he invited friends over for a cookout. He liked the idea.

This was actually the first German chocolate cake i have ever made from scratch. Every time i said i was making it from scratch, if someone new was in the conversation, they'd say "Even the frosting?" Yes, even the frosting. I don't think anyone i know had ever had one totally from scratch before, so i was interested to see how similar the frosting would be to what you get in a can.

It. Was. Amazing. Heaven on a plate. Seriously. This is the kind of cake that can kill a diet. Or even make you decide cake is better than being skinny and ever getting your butt in those size 7's again.

My husband actually hid the rest of the cake away in our bedroom to prevent teenage boys from eating it in the middle of the night during their sleepover. It was that good.

I didn't toast my coconut or pecans because my recipe, which came from my BH&G cook book, did not ask me too. I saw other recipes saying to do it but i hate toasting coconut if i don't have to. 


For his birthday, the camo cupcakes! You make them a lot like you make any other multi-colored cupcake. I got the tutorial i used from Pinterest, and i will link you there. I feel uncomfortable doing things i see on Pinterest and making my own tutorial on it, you know? So, here is the link: CLICK!


My icing looks so creamy soft. Normally the edges of my icing fray a little. I have to remember that less sugar is better sometimes.


These were fun to make and everyone really loved them. I didn't have ANY left when everyone left, thanks to the teenage boys. Not that i really thought i would.


A Doll Cake For My Dollface

This last couple of weeks i have been very busy! It's amazing, really, how much i have crammed into my life lately.

Late August kicks off what i fondly term "Birthday Season".Of course, you may have seen my daughter's Pixie Hollow cake, but this whole thing escalates in September, when birthdays are rampant. Thankfully, not everyone wants me to make cake. I would never leave my kitchen!

Midway through September is my beautiful niece's birthday. She is our gorgeous brunette, the only one in her whole generation (of our tiny family branch).

She asked for a doll cake for her birthday. I was a little nervous, but excited!

I have to admit, i had this elaborate vision in my head of what i could do to a doll cake if i had time and tools and, i admit it, a heck of a lot more skill than i currently possess. It was gorg. She would have a fondant dress, and it would cut away in the front for a petticoat, and there would be ruffles...

In my head.

However, that proved to be way more difficult than i expected. Just the dress alone gave me fits and i *finally* figured out a place in my life where math could be useful. That's right. I said it. This one time.

Dress logistics aside, it was honestly one of my easier cakes. If i had stuck to icing and not tried to wrestle for 2 hours with fondant, i could have been done a lot quicker, and don't think i won't remember that next time.

I chose a Skipper™ doll for the doll portion of the cake, specifically because she looks so very much like my niece. Even so, she was almost too tall for the cake. I had to bend her knees and put her in a semi-chair pose to get her in there, and even then her hips stuck out of the cake by at least an inch. Next time, i won't be afraid to fill the pan even further to make the cake taller. Even so, a regular sized Barbie would probably not fit. The box says the pan dimensions are 5 1/2 inches tall, and that is far shorter than a standard Barbie™ doll's legs. I think i measured a regular doll at at least 7 1/2 inches from hips to the balls of her feet.

With icing, you can't tell the doll was slightly too tall.

So, she wanted a strawberry cake swirled with white cake. I had an even better idea. Strawberry zebra cake! Yum! It's a King Arthur Flour recipe, but i modified it for my own use here. I made 2 bowls of white cake batter. In one bowl i used a box of thawed and drained strawberries plus a couple tablespoons of the drained juice and mixed it into a strawberry flavored cake.

You pour a big dollop of one color into the pan. Then you add a big dollop of the other color batter in the middle of the first dollop. You keep doing this over and over and the cake batter spreads, and it creates this zebra pattern on the inside. It's really cool! I did this to the inside of the doll cake as well.


In order to make strawberry buttercream icing, i creamed by butter, and then added the remainder of the juice from the strawberries i thawed for the cake and beat that and the butter really well. Then i added in my powdered sugar and added in some strawberry flavoring i got at the store because i didn't think there was enough and wanted it to really taste like strawberries.


See, this is my poof that i CAN work with fondant, at least in small batches. lol


Fully decorated doll cake. I was trying to go for two-tones ruffles, but mainly all you can see is purple.


I wanted there to be enough cake for whoever might be there, and the doll cake was only about 8 inches in diameter. So i made a dance floor for her to stand on. My writing could still use work.


The finished product at the party! Not too shabby!


The inside of the cake:


I learned a lot of lessons with this one. Which is sort of the point. I enjoyed making this cake as much as the birthday girl enjoyed receiving it!


Monday, September 3, 2012

Pixie Hollow Cake

My daughter turned 5 years old last week, and a few weeks ago i asked her what kind of cake she would like for her birthday. She said Tinkerbell. We looked around the internet and i saw a definite theme with cakes. She said she wanted one with 'lots of fairies'.

I looked around in some stores but no one had any fairies i liked. It's really hard to find little Tinkerbell toys right now. You can find lots of big dolls though. So i hit up Amazon and found a really cute set of fairies that i thought would work as cake toppers.

I had this vision in my head for a BIG cake. Way too big for the amount of people i actually needed to serve. But when i go for it, i generally go big.

However, i had a series of snafus and fail cakes while i was trying to bake. I learned, for example, how not to not make a chocolate chip cake. Who knew that was going to be so difficult? Twice, even? As if i was so sure it was somehow the cake's fault it failed, i had to do it again to see if it wasn't just a fluke that the first one didn't work. Turns out, it was me after all. Ah, life. Trial and error. Good times.

My end result turned out nicely, but there were tears and frustration before i was done.

Making cakes, i have realized that you have to be flexible and take the fail cakes with a resigned determination to succeed next time.

I ended up going with a marble cake. I took a plain white cake recipe and then i split it in half and put 1/4 cup of cocoa powder in it and mixed it so all my cake would require the same baking temperature and time.


The finished product! I learned how to make much more realistic rocks for my lagoon and waterfall, which i am happy about!


I wasn't thrilled about my icing consistency. I need to experiment and find just the right balance for myself, because i wasn't able to get this icing as smooth as i normally strive for. I did get some nice color, however. And this was my first try at edging a cake, but i think i just need some practice.


I really do love the fairies cavorting about!


My daughter was SO thrilled. She told me it's *just* what she wanted. And if you Google fairy cakes, you will see a LOT of cakes in this same theme and with pools and waterfalls and stuff. I am just putting my own spin on a cake that gets a LOT of traffic and attempts. My personal goal is to challenge myself with what i can do. It doesn't all have to be original to be awesome.

This was a really fun cake to do, after i got the shape all figured out!

Monday, August 6, 2012

Car Chase Cake

I have had the busiest summer! Therefore, i have not been as active in the kitchen as i would like. However, we are returning to the beginning of what i fondly call "Birthday Season", and birthdays go from midsummer to mid-April, then i am done again for a few short months.

My friend asked me if i would bake a cake for her husband and his twin brother. Of course, i said yes. One of them is a cop, and one is a Harley-loving biker. So they wanted something like a road with a police car chasing a Harley. Totally a cute idea. I loved it.

I had my brain on this for quite a while, but in the end i decided to go for something fairly simple in design. I didn't want it to look anything like the cartoon-y Cars cake i made for my nephew.

So this is what i came up with!


The trees i simply piped about a million leaves on each one and it made them quite realistic looking, i think.


Here is the part that had me crossing my fingers. When i asked what size the road needed to be, she said "Matchbox car sized." I made sure i made the road plenty big in case we ended up with something not quite so small, so i am happy with the result! We had a good laugh over her chase to find the right sized vehicles in relation to each other.


I was very pleased with this cake, and i think everyone else was, too. Even if my friend's little boy did say my rocks looked like poo. Silly kid. Note to self: Experiment with making non-poo-ish rocks. Heh.

Nothing extremely special on the inside. Just a home made cake with BH&G recipes. Chocolate on one side, white on the other.

I did experiment with store bought fondant this time. MUCH easier to work with, although i like my cheap version too for the most part. But there is no way i was going to make homemade fondant THIS kind of black color, either.

Friday, June 29, 2012

Plum/Nectarine Sorbet

This year, we discovered we have a fruit tree in our backyard! I was pretty sure it was a plum tree but it *could* be a nectarine tree. I want to say i am sure but i'm not.

Either way, i love plums AND nectarines. I got hooked on nectarines when i was pregnant, and they are one of my favorites.

I looked up a lovely recipe for plum sorbet.

I didn't realize they would be so juicy fresh off the tree. I am learning that grocery store firmness isn't really replicated in your backyard. They were firm indeed on the outside, but i have never had such juicy fruit in my life. I made this sorbet twice last week. The first time, i cut fresh fruit and it made quite a mess. More than i expected. The juice ran down my arms to my elbows and dripped onto the floor, all over my blender, the counter tops, my shirt and pants... it was a huge sweet mess.

The second time i made it i experimented with freezing the fruit whole and then using a very sharp knife to cut it. On one hand, there was less mess. On the other hand, it is harder to blend up frozen fruit than fresh. I had to use a little bit of water to assist it and i cut some fresh fruit at the end to give it more juice for blending.

Here's the recipe:

2 ½ cups sliced plums, pits removed
¼ cup plus 2 Tbsp sugar
1 tsp lemon juice
pinch of salt
1 Tbsp Grand Mariner (optional)

I used more plums, at least 3 cups. So i increased the sugar, to about 1/2 cup. I used Triple Sec instead of Grand Mariner. The liqueur is basically to keep it from getting too rock hard. It gives it a bit of softness.

You blend this all up together until smooth. The original recipe suggested that i strain out the large pieces of skin and discard them. The first time i made this, with the fresh fruit, the skins were negligible after blending. Using the frozen fruit, the skins were more prominent but i still didn't strain them out. You can do so if you like but when i eat a fruit i eat the skin, so it didn't bother me to have it in my sorbet. The pieces weren't very large at all so straining it just seemed like a mess and a bother.

I put the mixture into my ice cream maker and i let it go for about 40-50 minutes (this was with fresh fruit). The frozen fruit takes way less time. Maybe only 20 minutes. Your ice cream maker may be different, so use it according to your own directions.

The result was surprising. The fruit was so sweet fresh, and i thought the addition of the sugar might have made it extra sweet, but it was actually very tart. I personally like tart flavors, but you can always add more sugar if you like it sweeter. You could probably leave out the lemon juice. I liked it was it was.

The best part is that it's fat-free, and uses limited resources to make something that is cool and refreshing for this summer heat we're having! It was virtually free for me, since i had all the ingredients in my house and backyard!


Wednesday, June 20, 2012

Blackberry Pancake & Waffle Syrup

I mentioned before that blackberries are my favorite berry. This time of year i pick as many as i can over a couple weeks span to bring home and usually i am in the kitchen for days making jams.


This year has been phenomenal for blackberries! We had a 'blackberry winter' as the old folks say, which meant we had a very mild winter. On a few levels, that sucks. I had allergies ALL winter long, and so did one of my kids. On another level, it can be really good for some plants come warm weather.


We went to the patch for the second time the other day and it looked like this out there:


Yea. So we picked and picked and picked... until we had 5 gallons of berries. That's just me and my husband picking. My arms look like i was in a cat fight with the Tasmanian Devil.

This is at least as much as i bring home by myself in a whole season, if not more. I still have loads of jam canned from last year, so i thought, i wonder what else i can make with blackberries besides jam, cobbler, muffins (which is another post entirely) and sorbet.

My husband made a random comment about blackberries and pancakes, and it was like lightning struck. Blackberry Pancake Syrup!

I didn't even know if ti was a real thing but i looked around on Google. I mean, IHOP has boysenberry syrup, so why not? Turns out, it is a real thing!

ATTENTION: Please have knowledge of how to use your pressure cooker in advance. I don't want this to be your first lesson in how to use one and i take no responsibility if you hurt yourself. There is pressure, there is steam, but there are also SAFETY PROCEDURES. Read your manual.

First step, get your pressure cooker and fill it with water, and get that on the stove and boiling with the lid to the side someplace.

Get out the blender (or food processor) and blend up a bunch of berries. I added a little water to get my blender going and pureed up several cups of berries.

When you want to start measuring, you need to get out a mesh strainer.

I had a nice perfectly sized metal bowl that my strainer fit on.


The puree is really thick and won't just magically separate itself, so i tapped the strainer against the bowl repeatedly until basically all that was left was seeds and all the juice and pulpy goodness had sifted through.


Do that until you have 4 cups and juice and fine pulp.


You need a good sized saucepan or stock pot preferably (i need a new stock pot) because when this stuff boils, it is going to EXPAND.

Add 4 cups of sugar. Turn on the heat, and stir until it's very dissolved.


I already had an estimated number of jars and rings sterilized and my canning equipment ready to go. If you've canned before, you know the drill. If not, get your jars/rings in hot soapy water and let them sit for a while, and put your unused lids in simmering water on the stove. When you have your blackberry mixture on the stove, you can start bringing your jars out of the bath and rinse off the soap.


Let your blackberries come to a boil. Boil on high for 2 minutes. Keep your spoon ready to stir because it WILL expand and it will feel like molten lava if you end up touching it. Nothing good to be felt there.

When it's done boiling, turn off the heat. Ladle blackberry syrup into jars, and make sure to leave ¼" head space.


Wipe off the jar rims, and put the hot lids on with your magnetic lid lifter, and screw rings on tight.


Place jars in pressure cooker and fasten on the lid. When it pressures up, let jars pressure for 10 minutes.


When your pressure cooker cools off a touch you can let off some steam so it can be safely opened. PLEASE read your manual and know how to use your appliance.

Remove your jars carefully with your jar lifter and remove to a towel or heat proof surface to cool.

And voila, you have blackberry syrup!

I am soooo excited to make pancakes now!